Creating a VPC from scratch is bit tricky but then again is a matter of few clicks. The process of creating a VPC from scratch with two subnets are as follows:-
Step 1:- Go to vpc console and click on create VPC.

Step 2:- Provide the information you want in your VPC


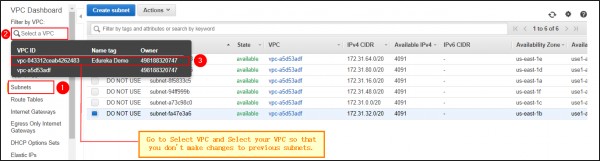
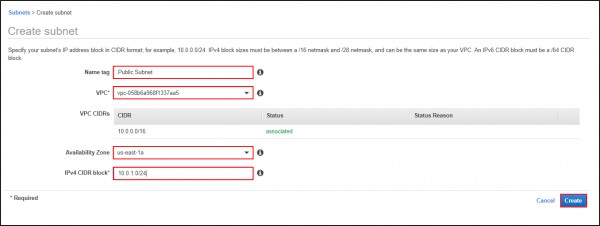
Step 2:- Now you need to create subnet within the VPC, as the VPC is of no use if it has no subnets.
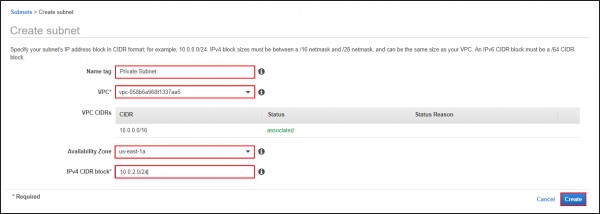
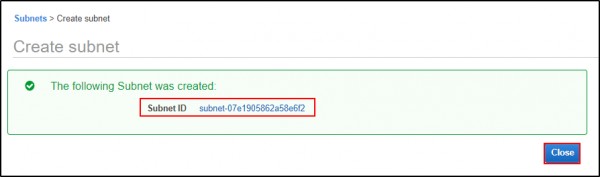
Step 4:- Create a private subnet for inline production or some secure data.
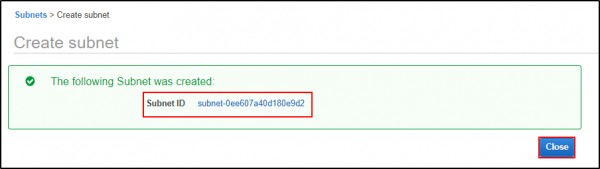
Step 5:- Create a public subnet for giving access to your architecture or infrastructure for public.
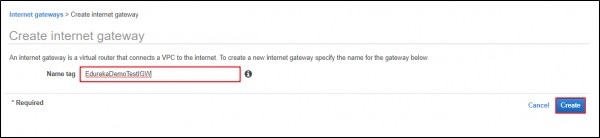
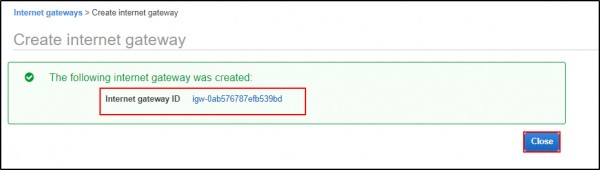
Step 6:- By just mentioning public the subnet won't work as public. We need to create an Internet Gateway inorder to provide access to the public traffic.
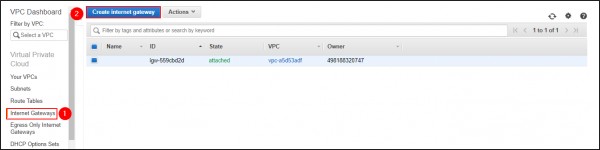
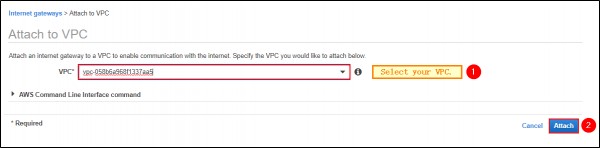
Step 5:- Attach the created Internet Gateway to the VPC created.

Select your VPC and click on attach.
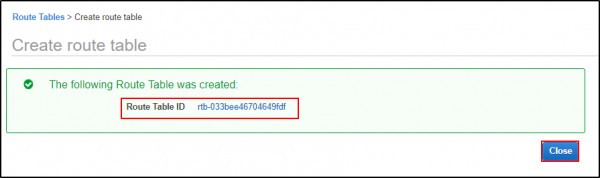
Step 6:- You need to create a route table to create a route for managing traffic.

Fill in with the necessary Information and Click on Create.

Step 7:- You need to attch the Internet Gateway to the route table created.
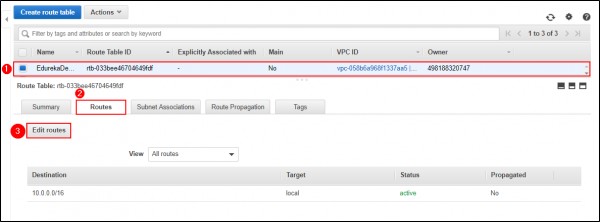
Add the route that allows all the traffic to the route table. Click on save.

Step 8:- Now its time for adding the Internet Gateway created for Public access to the Public Subnet. Click on the public subnet that is created and select the menu of Routes.
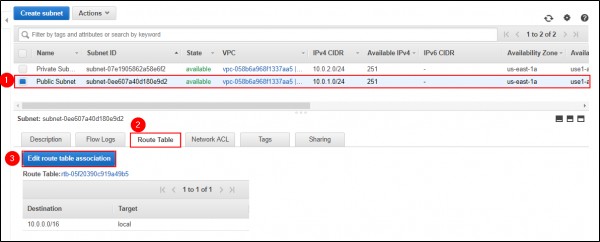
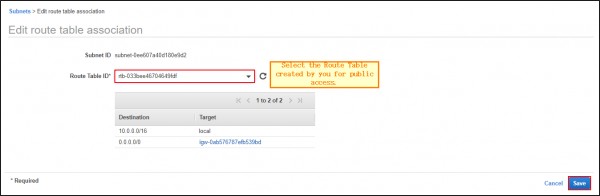
Click on Edit Route and select the Route Table to that Subnet and click on Save.
You have now created a VPC and two subnet, one Public and one Private. The public subnet is having the route table that is associated with an Internet Gateway. Hope this helps.