DevOps Certification Training Course with Gen ...
- 194k Enrolled Learners
- Weekend/Weekday
- Live Class
ServiceNow is one of the most popular ITSM tools that brings in automation in various business processes. In this blog, I am going to discuss ServiceNow from a developer’s perspective. So let us not waste any time and get started with this ServiceNow Developer Training Blog.
This blog will walk you through following points:
So let us start with the first topic of discussion in this ServiceNow Developer Training blog
ServiceNow is a software platform that supports IT service management and automates common business processes. It contains a number of modular applications that can vary by instance and user. ServiceNow is an integrated cloud solution which combines major cloud and business services into a single system of record.
ServiceNow whose journey began with IT Service Management applications providing Service Catalog Management, today supports both IT Service Management Processes and IT Enterprise such as HR Management, Security Management and PPM, etc.
Following features make ServiceNow better than its competitors:
This was a short introduction to ServiceNow. Next in this ServiceNow Developer Training blog we would understand what is scripting in ServiceNow:
A script is nothing but a computer programming language with a series of commands that are capable of being executed without being compiled. In simple words scripting is configuring your system to perform certain tasks which are triggered by specific events.
You can classify scripting in two types: Server Side Scripting and Client Side Scripting
It is script that runs on a web server, which produces a response customized for each user’s request to the website. Server side scripts execute on the server or the database
Server-side scripting is often used to provide a customized interface for the user. These scripts may assemble client characteristics for use in customizing the response, based on those characteristics, the user’s requirements, access rights, etc. Server-side scripting also enables the website owner to hide the source code that generates the interface.
Client scripts run on the client (web browser). You can use client scripts to define custom behaviours that run when events occur, such as, when a form is loaded or submitted, or a cell value changes. Proper client-side processing depends on the form loading completely first. Making record updates prior to form load can produce unexpected results that bypass client-side processing. Client-side Glide APIs (Application Programming Interfaces) provide classes and methods that you can use in scripts to perform client-side tasks.
Users with basic knowledge of JavaScript can define scripts to run in the client browser. Several types of client scripts are supported by ServiceNow. Let us take a look at those:
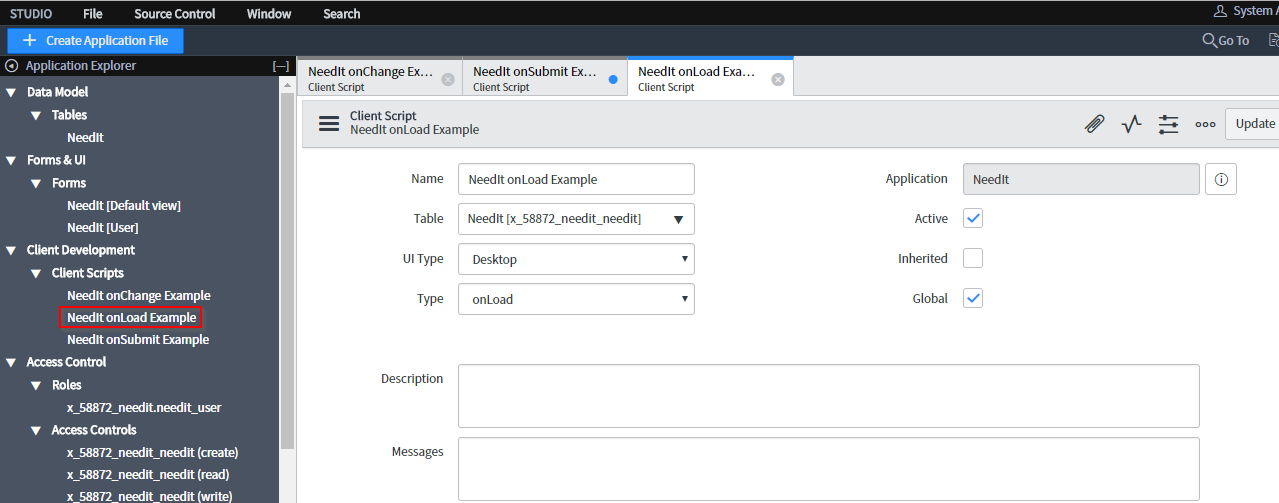
An onLoad() script runs when the form loads before the user ever sees it. The values on the form are straight from the database. This type of script lets you control how the form first appears to the user.
An onChange script runs when the user changes value in any of the field. This script is handy for setting up a value of a field or displaying value based on the values user enters in the other fields.
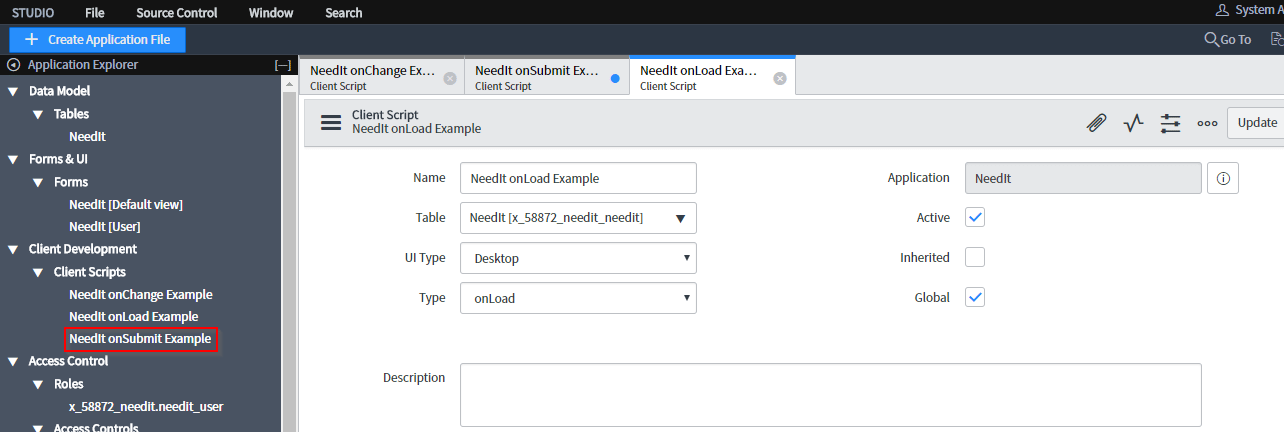
An onSubmit script runs when the user submits the form. This type of script is useful for validating the values the user entered.
An onCellEdit() script is very similar to onChange() script. However there is one major difference between the two. onCellEdit() script runs when the user changes value of the fields in list.
In this ServiceNow Developer Training demo we start by creating a github account.
Step 1: Go to the following link to create and a Github account. Following page will appear. SignIn, if you already have an account else follow the steps to SignUp.

Step 2: Fill in the above mentioned details and click on Sign Up. Following window will appear, fill in the details required in fields shown below

Step 3: GitHub will request you following details, fill in those as well and click on continue

Step 4: Once you have done this, a formal information page would appear, fill in that information and you are good to go.

Step 5: Once you do this, your account is created. Next verify your account by clicking on the link that GitHub will send to your registered e-mail ID.
Step 1: Next open your browser and Enter this ‘https://github.com/ServiceNow/devtraining-needit-jakarta‘ link. The link will redirect you to the following page. Now let us fork the ‘devtraining – needit – jakarta’ repository with our ServiceNow instance by clicking on fork

Step 2: After you have forked the repository. GitHub will give you an option to clone the repository. Click on the clone tab, Github will generate following link for you, copy the link. You may download the zip file or directly open it on the desktop.

We have successfully forked the GitHub repository. Now Let us go ahead and create a client script using our repository.
Step 1: Go to Application Navigator in your ServiceNow Instance. Type Studio and open it.

Step 2: Following tab will open. Click on Import Source Control to import the repository.

Step 3: Following window will appear. Enter the link we copied while cloning the repository, also enter the GitHub credentials, we used to create the account. Click on import

Step 4: Following page will appear. Click on the NeedIT repository.

Step 5: In Studio, open the Source Control menu and click the Create Branch option

Step 6: Configure the Branch with following credentials:


Step 1: In the main ServiceNow browser window (not Studio) use the Application Navigator to open NeedIt > All. Select a record of your choice and open it. If your client script is active. It will display an alert as shown in the image below.
Step 2: Press OK. Now make a change to the record. Change the priority to moderate and click on update. The onSubmit alert would pop out.

Step3: Finally Let us test the onChange client script. To do that, make a change to the short description and update it. The alert would pop out as shown in the image below.

This verifies that all are client scripts are working and thus we have successfully created client scripts and implemented them accordingly. This brings us to the end of this ServiceNow Developer Training Blog.
Want to be an expert in ServiceNow?? Become a ServiceNow Expert starting from Edureka’s ServiceNow Admin Certification Training and ServiceNow Developer Certification Training which helps learners become expert in Administering the SN platform, Develop the Scripts for the Business processes, Workflows, Import Sets using real-time use cases on Banking, Sales, Finance domain.
Got a question for us? Please mention it in the comments section and we will get back to you.
 Thank you for registering Join Edureka Meetup community for 100+ Free Webinars each month JOIN MEETUP GROUP
edureka.co
I am looking for servicenow training. Can i get training details.